I started with a sirloin tip roast. In trimming the subject for the casing size I selected I was able to get just the right fit. This was done though estimation and further trimming would be expected when putting the meat into the casing.
Prior to stuffing the 6 lb.sirloin into the casing I spiced it with the following:
3Tbs Kosher salt
4Tbs Turbinado sugar
1 1/4 tsp cure #2
1Tbs Black Pepper
1 Tsp. Granualted Garlic
2 tsp Rosemary dry
1 tsp Thyme
7 Juniper Berries
Recipe is from http://lpoli.50webs.com/index_files/bresaola.pdf
After mixing the spices in a spice blender or coffee grinder (I use a small cuisenart) I divided the amount of spice in half. Using the first portion of spice I rubbed the sirloin down really well being sure to rub the spices well into the meat and sealed it in a zip lock bag. This went into the refrigerator for 4 days. After the 4th day I drained off any liquid and rubbed the remaining portion into the meat resealing it into the zip lock bag and back into the fridge for another 4 days. After the 4th day I removed the subject from the refrigerator and rinsed off the spices. The sirloin was then slipped into the casing (I used a 90mm collagen casing) being sure to remove all of the air that became trapped in the casing. This can be done by pricking the casing where the air bubbles appear using a toothpick or corn cob holder. Finally the subject is tied nicely to hang in the chamber for a while.
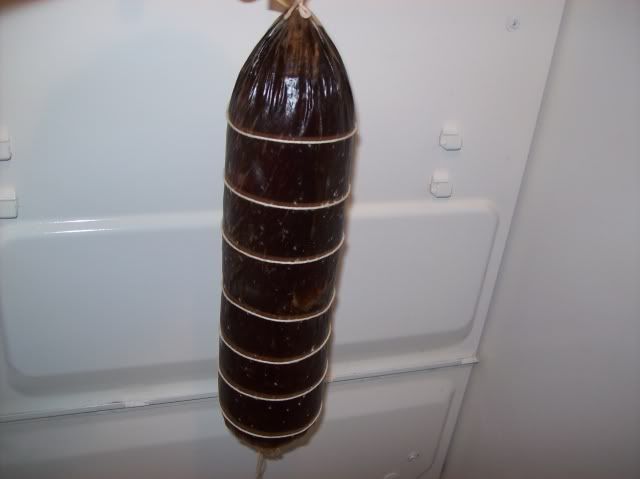
At this time my chamber was in its infant stages. Many of of the accessories had not been installed yet. In time, and as expected a mould began to appear. This mould started of as small white dots.
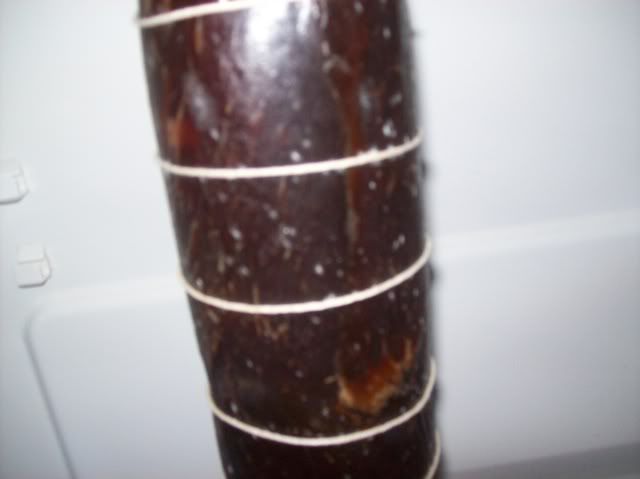
As time went on I also introduced two other meats into the chamber. A Lonzino and a Coppa. I'll post those seprately however, in illustrations you will see them as this progress unfolds.
The mould started taking on a greenish tint and through many reads and a few conversations it was decided that a vinegar wash would be the best order of buisness to relieve the mouldy condition. Here are a few photos of the moulds progress as it unfolded.
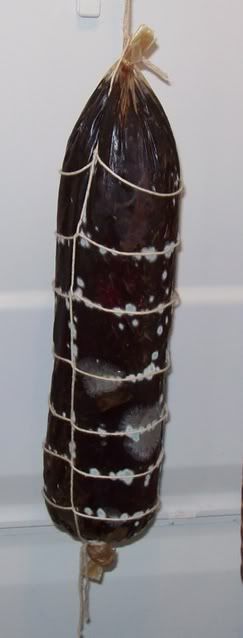
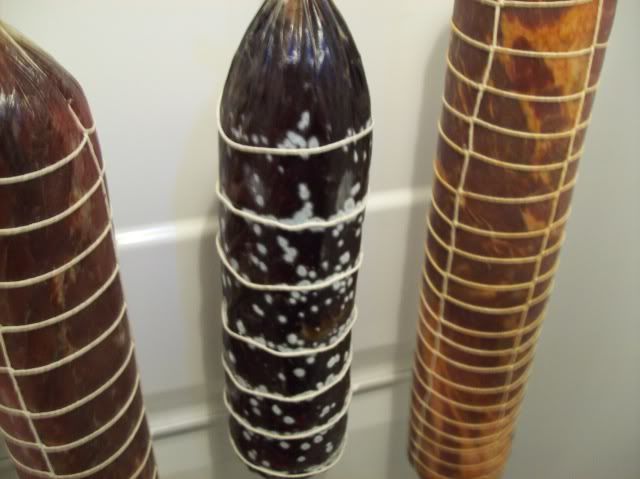
and finally
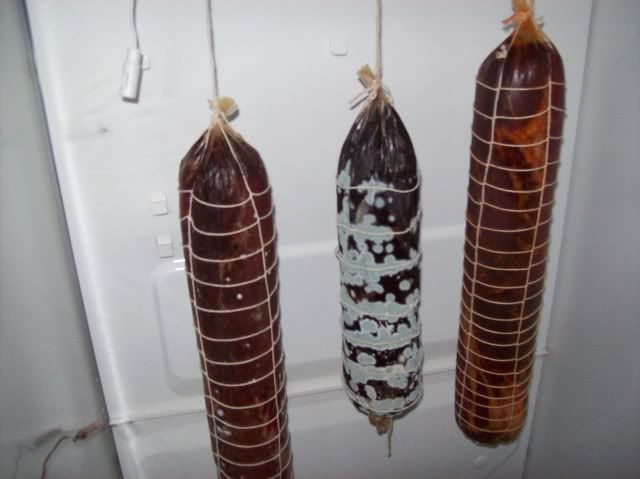
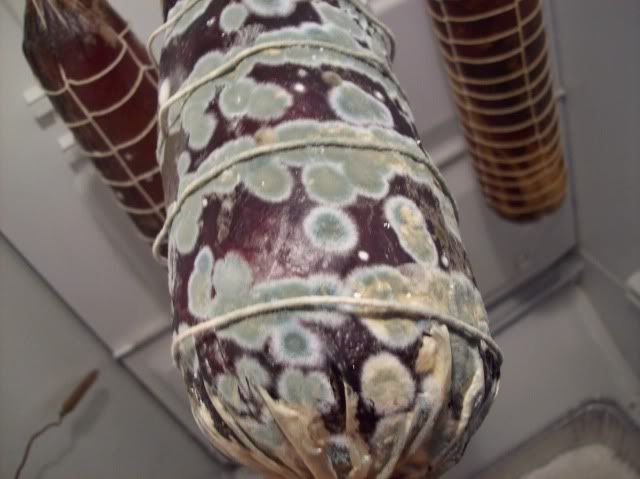
I really started learning at this point as I knew absolutley nothing about moulds however given all the myths, I wanted to be very careful. After a 50/50 vinegar/water wash my bresaola was back in buisness and looking non the worse for wear.
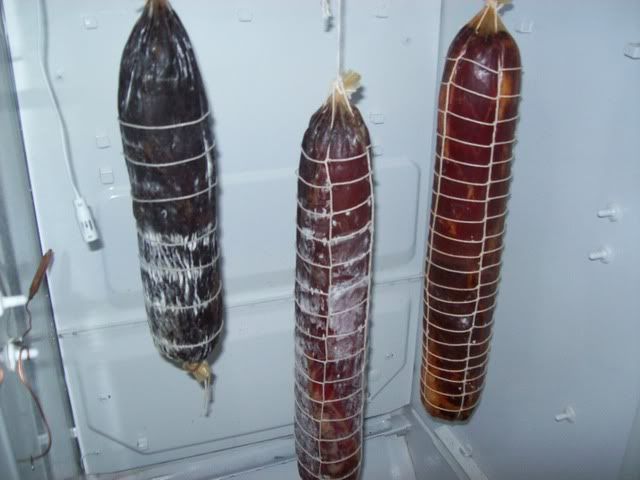
It seems my humidity that was being monitored using an extech temp and humidity monitor was too excessive. The monitor was in error. After a repalcement monitor arrived it was much easier to maintain the chamber without the regeneration of mould. Subsequently, I also decided further modifications were in order and thats when I began installing further wiring to accomodate the vent fan, hygrostat and humidistat.
I continued monitoring the progress on the bresaola until its target weight was achieved which was a loss of 40% of its original weight. Upon the optimum target weight it was time to slice the subject, so, with nothing further to do,,, Here we have it. A marvelous Bresaola.
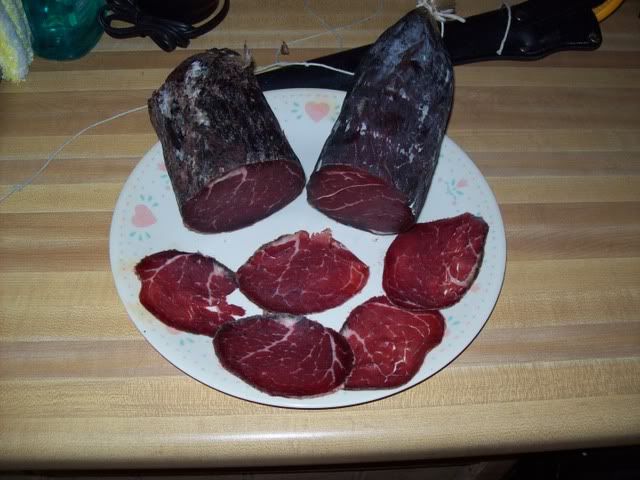
Though it was a great learning experience, this was the beginning of my introduction to the world of salume. Still to come are a lonzino, a coppa and many salamis. I'll post further on these later.
No comments:
Post a Comment